Ever opened your bag only to discover a soggy mess where your lunch used to be? We’ve all been there, and it’s a frustration we can definitely avoid. This simple ‘Backpack Shake Test’ will reveal if your lunchbox is truly up to the challenge of your daily commute, ensuring your meals stay contained and your belongings stay dry.
Ever Had That “Oh No!” Lunch Moment?
Ah, the dreaded lunch spill. It’s a moment that can derail your entire day, isn’t it? That sinking feeling when you reach into your backpack, expecting a delicious meal, and instead find soup seeping into your carefully organized notes or salad dressing making an unwelcome acquaintance with your laptop. It’s more than just a mess; it’s a disruption.
The Dreaded Spill
We’ve all experienced it. The moment of truth when you open your bag, and reality hits: a sticky, saucy disaster. Whether it’s a leaky soup container or a rogue piece of fruit that’s decided to liberate itself, spills are the bane of a well-packed lunch. Have you ever had to frantically dab at your belongings with tissues, wishing you’d just bought lunch instead?
What’s the Real Culprit?
Often, we blame ourselves or the fullness of the lunchbox. But let’s be honest, it’s usually the lunchbox itself that’s not quite up to the task, right? It’s not just about how much food you pack; it’s about how well that container can withstand the inevitable jostling, bumps, and tumbles of your daily journey. Does your lunchbox truly have the stamina for your commute?
Introducing: The Backpack Shake Test
So, what if there was a way to proactively check your lunchbox’s integrity *before* it becomes a problem in your bag? Enter the Backpack Shake Test. It’s a straightforward, practical method to gauge your lunchbox’s real-world durability and leak-proof capabilities. Think of it as a pre-flight check for your food!
What is it, Really?
At its core, the Backpack Shake Test is exactly what it sounds like: a simulated test of how your lunchbox will perform when it’s being tossed around. It’s about understanding its limitations and confirming its strengths before you rely on it to protect your precious cargo. Are you curious to see how yours holds up?
Why It Matters (More Than You Think):
The benefits of a truly leak-proof lunchbox extend far beyond just avoiding a mess. Consider these points:
- Protecting your belongings: Think about your electronics, important documents, or even just a clean change of clothes. A leaky lunch can ruin more than just your meal. Does the thought of a spilled smoothie on your keyboard make you shudder?
- Ensuring your food stays fresh and contained: Nobody wants their salad dressing to mix with their rice or their yogurt to escape its container. A good lunchbox keeps everything exactly where it should be.
- Saving you from embarrassing and messy cleanups: Imagine arriving at work or school and having to explain the mystery stain on your bag. The shake test can help you avoid these awkward moments.
- Making your meal prep efforts worthwhile: You put time and effort into preparing healthy, delicious meals. Doesn’t it make sense to ensure they arrive at their destination in the same condition you packed them?
How to Perform Your Own Backpack Shake Test
Ready to put your lunchbox to the test? It’s a simple process, and you probably already have everything you need. Let’s get started!
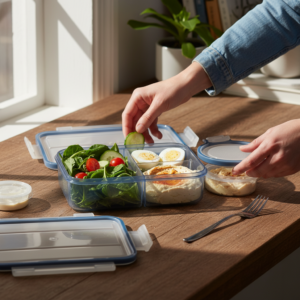
Step 1: The Prep Work
Before you can shake it, you need to load it up! This isn’t just about packing a meal; it’s about setting up a realistic scenario.
- What you’ll need: Grab your lunchbox, of course. Then, find a few common lunch items. Think about including a small amount of liquid (water is perfect for this), some semi-liquids like yogurt or applesauce, and a few solid items to see how they shift.
Prep work: Include a mix of textures. But let’s be realistic: while our seals are champions with thick liquids like stews, hummus, or pasta sauces, they aren’t designed for a liter of thin, water-based soup. For the shake test, use the type of food you actually carry. If you’re a soup lover, we always recommend an upright thermos for those watery broths, and your bento for everything else that makes a lunch delicious. - Load it up: Pack your lunchbox as you normally would. For a more rigorous test, consider adding a bit more liquid than you typically would, or pack items that might be prone to shifting. Are you packing it as if you’re heading out for a busy day?
Step 2: The Shake-Down
Now for the fun part – the shaking! The key here is to simulate the kind of movement your lunchbox will experience throughout the day.
- Gentle Jiggle: Start with a gentle shake from side to side. Listen closely. Can you hear any sloshing sounds from liquids that shouldn’t be moving freely? This is your first clue.
- The Vigorous Vibe: Ramp it up. Give it a more energetic shake. Imagine you’re walking briskly, perhaps on a slightly uneven path, or maybe you’re on a bus that’s hitting a few bumps. How does it feel?
- The Upside-Down Challenge: This is often the make-or-break moment for many lunchboxes. Carefully turn the lunchbox upside down and give it a few firm shakes. Does it feel like everything is staying put, or are you already anticipating a disaster?
Step 3: The Inspection
After the shaking, it’s time for a thorough examination. Don’t skip this crucial part!
- Check the Seals: Run your fingers along all the seams, around the latches, and the edges of the lid. Do you see or feel any moisture, condensation, or even tiny food particles escaping?
- Listen Closely: While you’re inspecting, give it another gentle shake. Are there any new rattling sounds that weren’t there before? This could indicate that contents are shifting in a way they shouldn’t be.
What to Look For: Signs of a “Pass” vs. A “Fail”
Interpreting the results of your shake test is pretty straightforward. It’s all about observing what happens (or doesn’t happen) when you put your lunchbox through its paces.
Passing Grades (The “No Spill” Zone):
If your lunchbox performs well, you’ll notice these reassuring signs:
- No visible leaks or seeps: Even after the most vigorous shaking, there’s absolutely no sign of moisture escaping from the lid, corners, or any seams.
- Contents remain securely in their compartments: If your lunchbox has separate sections, the food stays put. Nothing has migrated or spilled into other compartments.
- Latches and seals feel secure: The lid stays firmly closed, and the latches don’t feel loose or like they could easily pop open.
Failing Grades (The “Uh Oh” Zone):
On the flip side, these are the red flags that indicate your lunchbox might not be up to the task:
- Any visible liquid escaping: Even a small dribble from the sides, lid, or corners is a clear sign of a leak.
- Contents spilling out of compartments: If your salad has mingled with your rice, or your berries have escaped their designated spot, the compartments aren’t doing their job effectively.
- Latches that feel loose or could easily unclip: A lunchbox that feels like it could spring open under pressure is a ticking time bomb.
- A general feeling of instability: When you shake it, does it feel flimsy or like the lid is about to give way? That’s not a good sign for real-world use.
Beyond the Shake: What Makes a Truly Great Lunchbox?
While the shake test is a fantastic indicator, there are other features that contribute to a lunchbox’s overall excellence. Considering these aspects can help you choose a container that’s not just leak-proof but also practical and durable. Have you ever thought about the design details of your lunchbox?
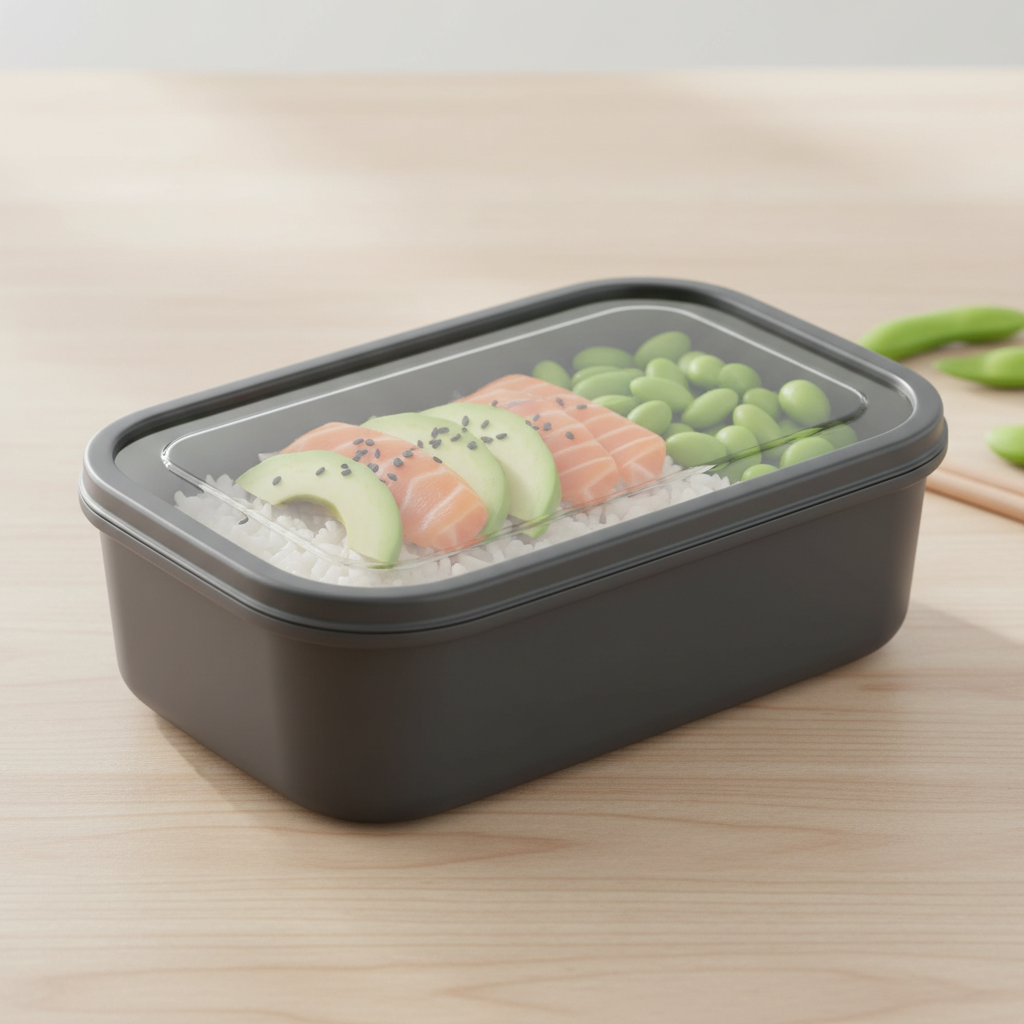
The Power of the Seal
The seal is arguably the most critical component of a leak-proof lunchbox. What kind of sealing mechanisms does yours have? Look for lunchboxes with silicone gaskets or well-fitting lids that create a tight barrier. Sturdy latches are also essential for keeping that seal in place under pressure. Does your lunchbox have a robust sealing system that you trust?
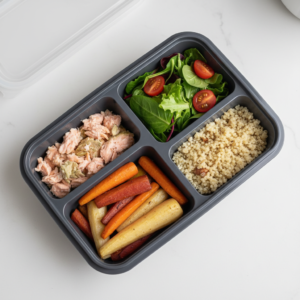
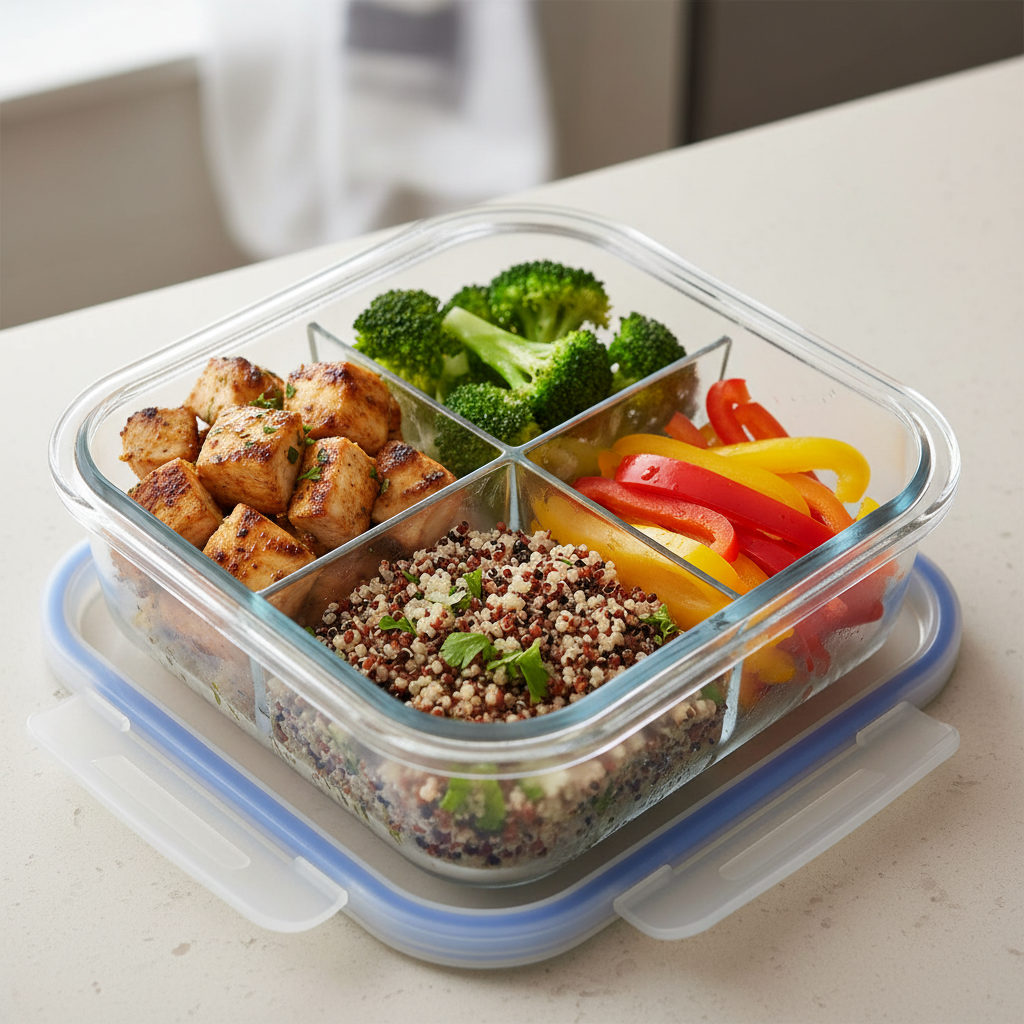
Compartment Control
For bento-style lunches, the effectiveness of the compartments is paramount. Do they truly prevent food from mingling, or do liquids and softer items tend to seep between sections? Keeping dressings separate from salads or preventing your main course from touching your fruit is key to a visually appealing and enjoyable meal. How important are separate compartments for your daily meals?
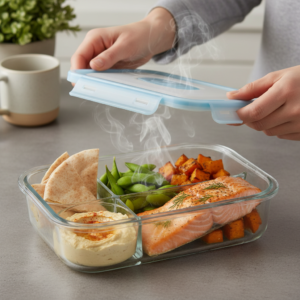
Material Matters
The material your lunchbox is made from plays a significant role in its durability, safety, and functionality. Is it made from food-grade, BPA-free plastic, stainless steel, or glass? Is it designed to withstand repeated use and washing? And importantly, is it microwave-safe if you plan to reheat your meals? Have you ever had a lunchbox warp or degrade over time?
Strap Security
While not directly part of the shake test itself, the strap and how the lunchbox is carried are vital for its overall usability. A well-designed strap that’s securely attached to the lunchbox ensures it stays put and is comfortable to carry. Do you find yourself relying on a separate bag, or is your lunchbox designed for independent transport?
Making Your Lunch Prep Work for You
Armed with the knowledge from the shake test and an understanding of what makes a great lunchbox, you can make informed choices about your meal prep routine. It’s all about setting yourself up for success, day after day.
Choose Wisely
If your current lunchbox consistently fails the shake test, it might be time for an upgrade. When you’re shopping, look for lunchboxes specifically marketed as “leak-proof” and, importantly, read reviews from other users. Their experiences can be invaluable. Are you ready to invest in a lunchbox that truly performs?
Pack Smart
Even the best lunchbox has its limits. While the shake test helps identify its capabilities, it’s still wise to pack smart. Avoid overfilling, especially with very runny liquids, and ensure lids are properly secured before you start shaking. Do you have any packing tips that help prevent spills?
The Goal: A Delicious, Stress-Free Meal
Ultimately, the goal of a successful shake test is to give you confidence. It means you can pack your healthy, home-prepared lunches with peace of mind, knowing they’ll arrive at their destination as intended. Isn’t that what meal prep is all about – making your life easier and healthier?
Ready to Shake Things Up?
So, what’s the verdict on your lunchbox? Have you ever performed a similar test before reading this? What’s your go-to lunchbox, and does it pass the shake test with flying colors? Share your experiences, your favorite leak-proof lunchbox models, or any funny spill stories in the comments below! Your insights can help others make better choices.
By taking just a few moments to perform this simple shake test, you’re investing in a smoother, cleaner, and ultimately more enjoyable mealtime experience, no matter where your day takes you. It’s a small step that can make a big difference!
Summary: Step-by-Step
The “Backpack Shake Test” is a practical method to ensure your lunchbox is truly leak-proof before it causes a mess in your bag. Here’s how to do it:
- Prep: Pack your lunchbox with a mix of liquids (like water), semi-liquids (like yogurt), and solids. Consider adding a bit more liquid than usual for a tougher test.
- Shake: Start with a gentle side-to-side shake, then progress to more vigorous shakes, simulating movement in a backpack. Crucially, turn the lunchbox upside down and shake firmly.
- Inspect: Carefully examine all seals, seams, and lid edges for any signs of moisture or leaks. Listen for any new rattling sounds from shifting contents.
Pass: No leaks, contents stay in place, and seals/latches are secure.
Fail: Visible leaks, contents migrating between compartments, loose latches, or a feeling of instability.
Choosing a lunchbox with robust seals, secure compartments, and durable materials is key to passing this test and enjoying stress-free meal prep.