Tired of the frantic morning rush, the looming lunchbox dread, and the endless cycle of prepping individual meals? What if I told you there’s a way to create two delicious, healthy, and exciting packed lunches in just 10 minutes, using a single foundational meal? Let’s ditch the stress and dive into a smarter, faster approach to family feeding.
Lunchbox Game Changer: 10 Minutes to Happy, Healthy Meals for Two!
The Daily Lunchbox Dilemma
Sound familiar? It’s 7 AM, the coffee’s brewing (or maybe not brewing fast enough!), everyone’s scrambling to get dressed, find matching socks, and you’re staring down the barrel of… the lunchbox mountain. You know, that pile of containers that needs filling with something nutritious, appealing, and ideally, something that won’t be traded for a bag of chips at the first opportunity. It feels like a daily marathon, doesn’t it?
This constant pressure to create separate, exciting meals for each family member can be exhausting. We’ve all been there, staring into the fridge, wondering how we can possibly conjure up two different, healthy lunches with mere minutes to spare. It’s a challenge that many families face, and frankly, it can steal precious moments from our mornings.
Imagine This: A Delicious, Healthy Meal Ready in Just 10 Minutes.
Now, picture this instead: You pull out a prepped “hero” meal component – something simple, versatile, and already cooked. In just 10 minutes, you transform that one base into two distinct, vibrant, and satisfying lunchboxes. Two happy faces, two well-nourished tummies, and you, feeling calm and accomplished. This isn’t a dream; it’s the power of the “One Meal, Two Boxes” method. As a Bento Expert, I’ve seen firsthand how this approach can revolutionize family meal prep, saving you not just time, but also money and mental energy. Ready to explore how we can make this your reality?
What We’ll Cover in This Quick Session:
We’re going to break down this incredibly efficient strategy. First, we’ll explore *why* this “one meal, two boxes” approach is such a game-changer. Then, we’ll dive into the simple, actionable *how* – the formula that makes it all possible in that magical 10-minute window. Finally, we’ll look at a practical recipe idea to get you started. Think of this as your express lane to lunchtime freedom!
The Smart Way to Tackle Lunch Prep: More Than Just Speed.
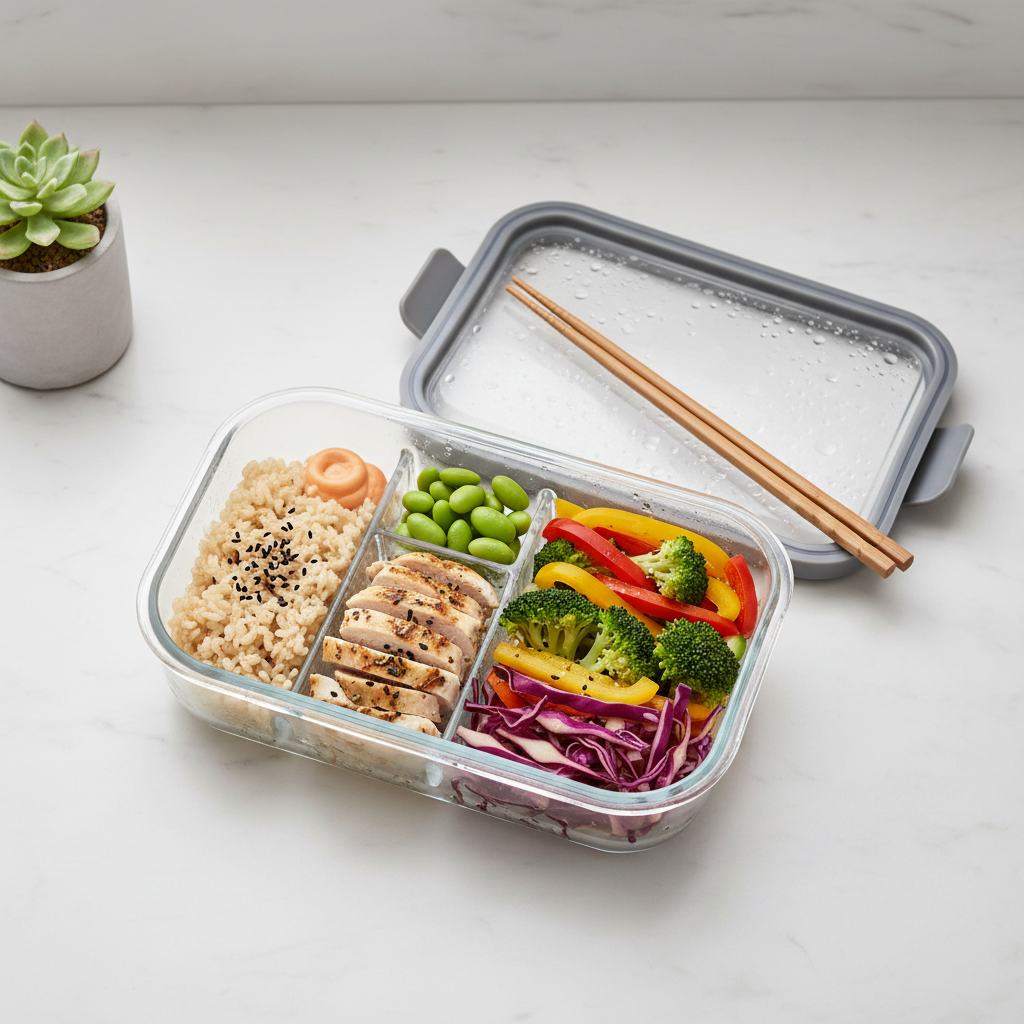
Time Saver Extraordinaire: Beating the Clock.
Let’s talk numbers for a second. Did you know that the average family can spend anywhere from 30 to 60 minutes *each week* just preparing lunches? That’s a significant chunk of time that could be spent on anything else – a relaxed breakfast, a quick cuddle, or even just catching your breath before the day truly begins. Our “One Meal, Two Boxes” method drastically cuts down that prep time. By focusing on one versatile base meal and then quickly customizing it, you reclaim those minutes. So, I have to ask: What could you do with an extra 20-50 minutes each week?
Budget-Friendly & Delicious: Your Wallet Will Thank You.
Beyond time, let’s consider your budget. Meal prepping, in general, is a fantastic way to save money. Studies suggest meal prepping can save households an average of $150-$200 per month on food costs. How? By reducing impulse buys, minimizing food waste, and leveraging ingredients more effectively. The “One Meal, Two Boxes” strategy is a prime example of this. When you use one base meal that can be divided and slightly varied, you buy in bulk, use ingredients fully, and avoid the temptation of expensive pre-packaged lunches. Who knew being smart with lunch could be so rewarding for your bank account?
Healthier Choices, Happier Kids (and Adults!).
And of course, the most important aspect: nourishment. When you pack lunches from home, you have complete control over what goes into them. This means you can ensure a balanced meal packed with the nutrients your family needs to thrive. Research shows that children who eat packed lunches from home are more likely to consume fruits and vegetables. By mastering this method, you’re not just saving time and money; you’re actively contributing to your family’s well-being, providing them with the sustained energy they need for school, work, and play. So, let me ask you: What kind of energy do you want your family to have throughout their day?
Ready, Set, Pack! The 10-Minute Magic Formula.
Step 1: Choose Your “Hero” Meal (The Foundation).
This is the cornerstone of our 10-minute strategy. Your “hero” meal is a versatile, bulk-prepped component that forms the base of both lunchboxes. Think of it as the sturdy foundation upon which you build. What makes a good hero meal? It needs to be something that holds well, is easily portioned, and can be enjoyed in different ways. Great examples include cooked quinoa, seasoned rice (brown, white, or basmati), grilled or shredded chicken strips, a hearty lentil curry, or a batch of roasted vegetables. This is the part that might require a little prep ahead of time, perhaps on a Sunday afternoon, but it’s the key to unlocking your 10-minute packing power. What’s one simple dish your family loves that could serve as a fantastic base for multiple meals?
Step 2: The “Quick-Add” Components (The Flavor & Fun).
This is where the magic of the 10 minutes truly shines. These are the grab-and-go items or those requiring minimal, lightning-fast prep that you’ll add to the “hero” meal to create distinct lunches. The goal here is variety and personalization. Let’s look at how you might differentiate:
- For Box 1 (e.g., Child): You might add fresh fruit like berries or apple slices, a crunchy veggie like cucumber sticks or bell pepper strips, and perhaps a small, fun treat like a few whole-grain crackers or a mini muffin.
- For Box 2 (e.g., Adult/Another Child): Here, you could include a different fresh element like cherry tomatoes or grapes, a healthy fat such as a small handful of nuts or avocado slices, and an extra protein boost like a hard-boiled egg or some cheese cubes.
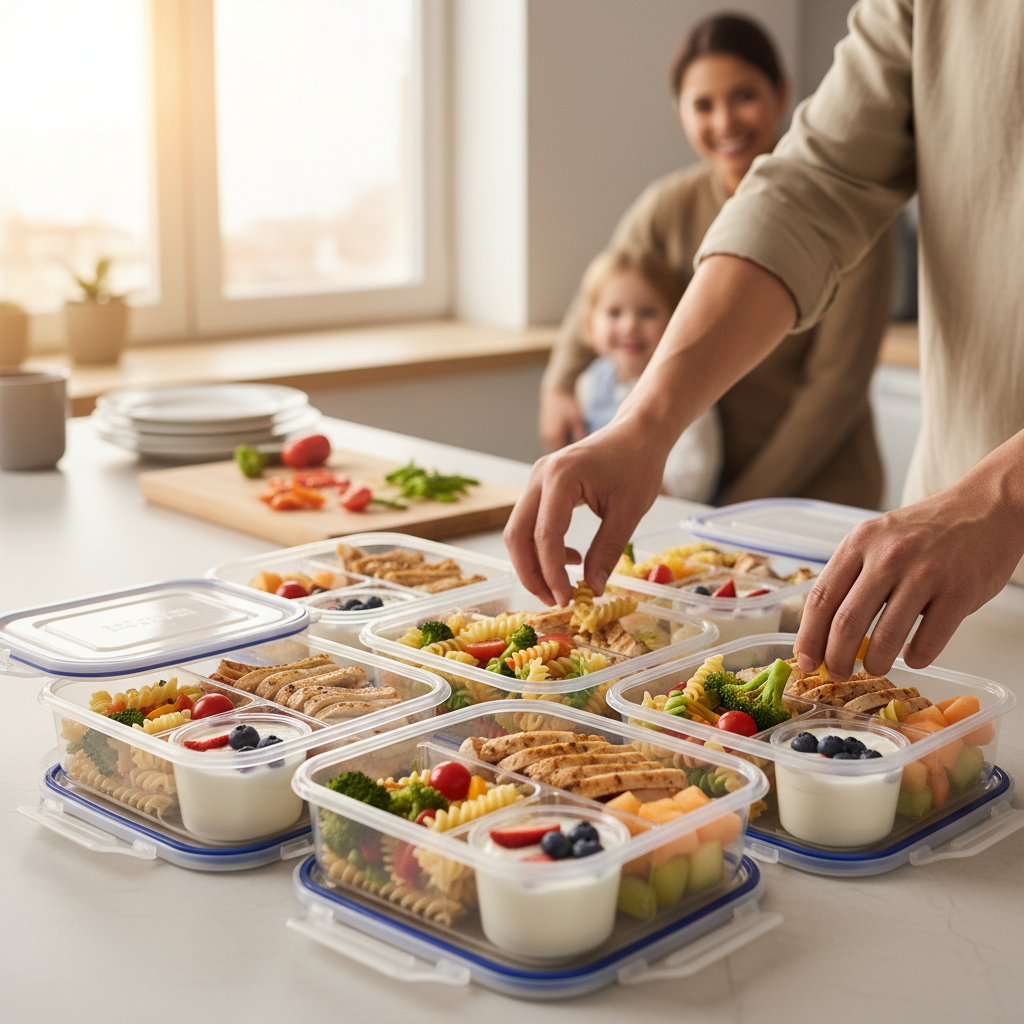
The “hero” meal gets portioned into both boxes, and then these quick-add components are strategically placed to make each box unique and appealing. It’s about building on a solid base with personalized touches. Remember, a healthy lunch doesn’t have to be complicated!
Step 3: The “Bento Box” Assembly (Presentation Matters!).
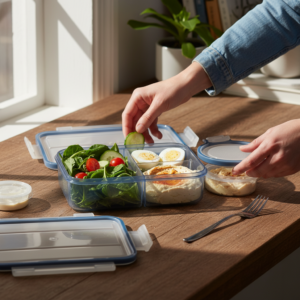
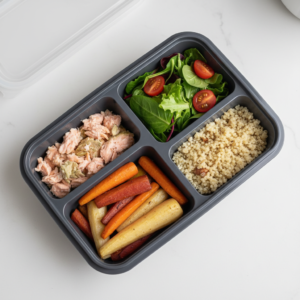
The “Bento Box” Assembly (Presentation & Functionality) Presentation is part of the fun, especially with bento boxes! The beauty of bento boxes lies in their compartments, which keep your ingredients neatly separated, preventing dry foods from touching. This visual appeal can make a huge difference in how enthusiastically a meal is received.
When packing your 10-minute lunches, a few expert rules will ensure a flawless experience. First, while BentoHeaven containers feature a premium silicone seal that keeps your bag 100% dry from the outside, the internal dividers are not liquid-tight. If you are packing Box A with those crisp carrot sticks and a dollop of hummus, never put the hummus directly into a divided compartment. The movement during travel will cause it to migrate. Instead, always use our separate, screw-top sauce pods inside the bento layer to keep dressings and dips perfectly locked away.
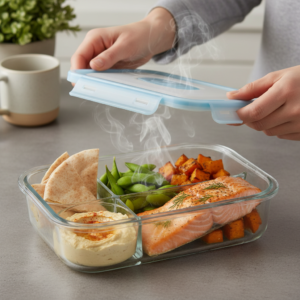
Second, if your family will be reheating their lunch, our high-density, BPA-free containers are fully microwave-safe. However, to protect your bento’s precision seals for years, always follow the ‘Lids Off’ rule: instruct them to always remove the top lid and the internal dividers before microwaving. Extreme steam can warp the silicone components, so keeping the lids outside the microwave ensures they stay 100% leak-resistant for the long haul!
Let’s Get Practical: Your First 10-Minute Lunchbox Recipe.
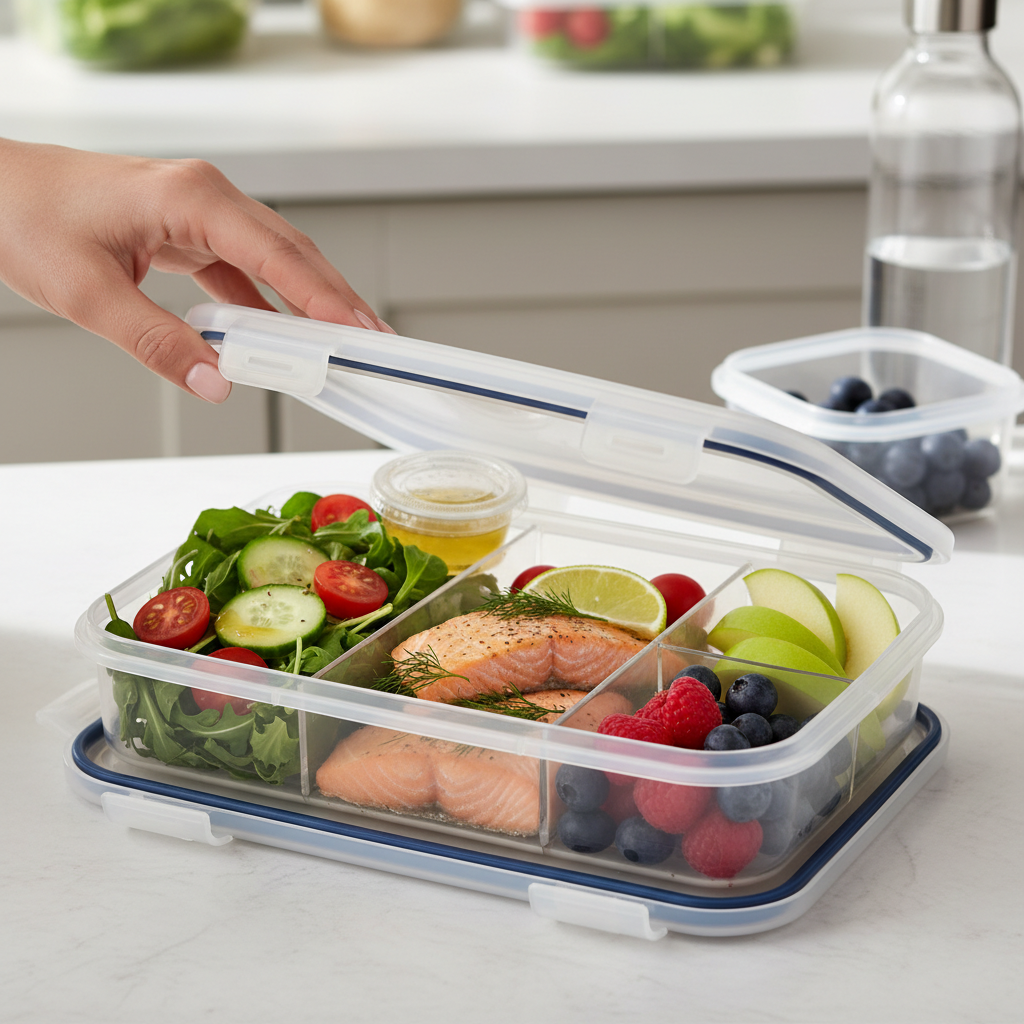
The “Hero” Meal: Lemon-Herb Grilled Chicken Strips (Prep Ahead!).
This is a perfect example of a “hero” meal that’s both delicious and versatile. To prepare the Lemon-Herb Grilled Chicken Strips ahead of time:
- Marinate chicken breasts in a simple mixture of lemon juice, olive oil, your favorite dried herbs (like oregano, thyme, or rosemary), salt, and pepper for at least 30 minutes (or overnight for more flavor).
- Grill or bake the chicken until cooked through.
- Once cooled, slice the chicken into strips.
- Store these strips in an airtight container in the refrigerator. They’ll be ready to grab and go all week!
The 10-Minute Assembly: Two Ways to Power Up!
Now, let’s take those chicken strips and create two distinct, power-packed lunches in under 10 minutes. Grab your bento boxes and let’s go!
Box A (Kid-Friendly):
- Base: A portion of cooked quinoa.
- Add: A generous serving of the Lemon-Herb Chicken Strips.
- Snack/Sides: Carrot sticks with a small container of hummus, and a handful of apple slices.
Box B (Adult/Teen):
- Base: A portion of brown rice.
- Add: The Lemon-Herb Chicken Strips.
- Snack/Sides: A small container of cherry tomatoes, a small handful of almonds, and some refreshing cucumber slices.
Tips for Variety: The beauty of this system is its adaptability. Don’t have quinoa? Use rice. Prefer to keep it vegetarian? Swap the chicken for seasoned baked tofu or a scoop of black beans. The “hero” meal concept is all about flexibility! How can you tweak this basic idea to suit your family’s specific tastes?
You’ve Got This! Lunchtime Confidence in Minutes.
Recap: The Power of One Meal, Two Boxes.
We’ve explored how the “One Meal, Two Boxes” method isn’t just about speed; it’s a smarter, more sustainable way to approach family lunches. By prepping one versatile “hero” meal component, you unlock the ability to create two unique, healthy, and delicious lunchboxes in a mere 10 minutes. This strategy saves precious time, reduces your grocery spend, minimizes food waste, and ensures your family is fueled with nutritious meals. It’s a simple yet powerful shift that can bring a sense of calm and control back to your mornings.
Your Next Steps to Lunchtime Freedom.
So, are you ready to give it a try? The best way to learn is by doing! Pick a “hero” meal you know your family enjoys and try assembling two different boxes this week. Don’t be afraid to experiment with the quick-add components. Share your successes, your favorite “hero” meals, or your go-to quick additions in the comments below! What’s one small step you’ll take this week to make lunch prep easier for your family?
Join the Bento Revolution!
Ready for more tips, tricks, and inspiration to make mealtime easier and more enjoyable? Sign up for our newsletter to get exclusive content delivered straight to your inbox. Follow us on social media for daily bento ideas and community support. Let’s embrace the Bento Heaven lifestyle together!
Summary: Step-by-Step
Transform your lunch prep with the “One Meal, Two Boxes” method. Here’s how to achieve it in just 10 minutes:
- Prep Your “Hero” Meal: Choose a versatile base like cooked quinoa, rice, grilled chicken, or roasted vegetables. Prepare a larger batch of this component ahead of time (e.g., on the weekend).
- Gather Quick-Add Components: Select a variety of fruits, vegetables, healthy fats, and small treats that require minimal to no prep.
- Assemble Box 1: Portion the “hero” meal into the first bento box. Add your chosen quick-add items to fill the compartments.
- Assemble Box 2: Portion the same “hero” meal into the second bento box. Add a *different* selection of quick-add items to create a unique lunch.
- Pack and Go: Ensure your containers are sealed securely. You’ve just created two complete, healthy lunches in 10 minutes!